There are many impressive monsters to fight in Dragon Age: The Veilguard, but few are as imposing as the beast you’ll encounter at the end of the “Pinnacle of Its Kind” quest. RPGs are chock-full of bad decisions to be made in the name of adventure, and any completionist will tell you that there’s nothing wrong with breaking down a locked door. There are just consequences for breaking down some of those doors.
You’ll find this quest in the Necropolis Halls, where you pick up Emmrich for the first time after you finish the “Restless Spirit” quest. This is a step in Emmrich’s companion quest, which you’ll need to do if you’re interested in romancing the necromancer. It’s also a good way to get extra XP and level up quickly, so it’s a good idea to do either way. Once you pick up the quest, it’s off to hunt demons.
Unlocking The Necropolis Door
Defeat Demons In Dock Town, Arlathan Forest, And Hossberg Wetlands
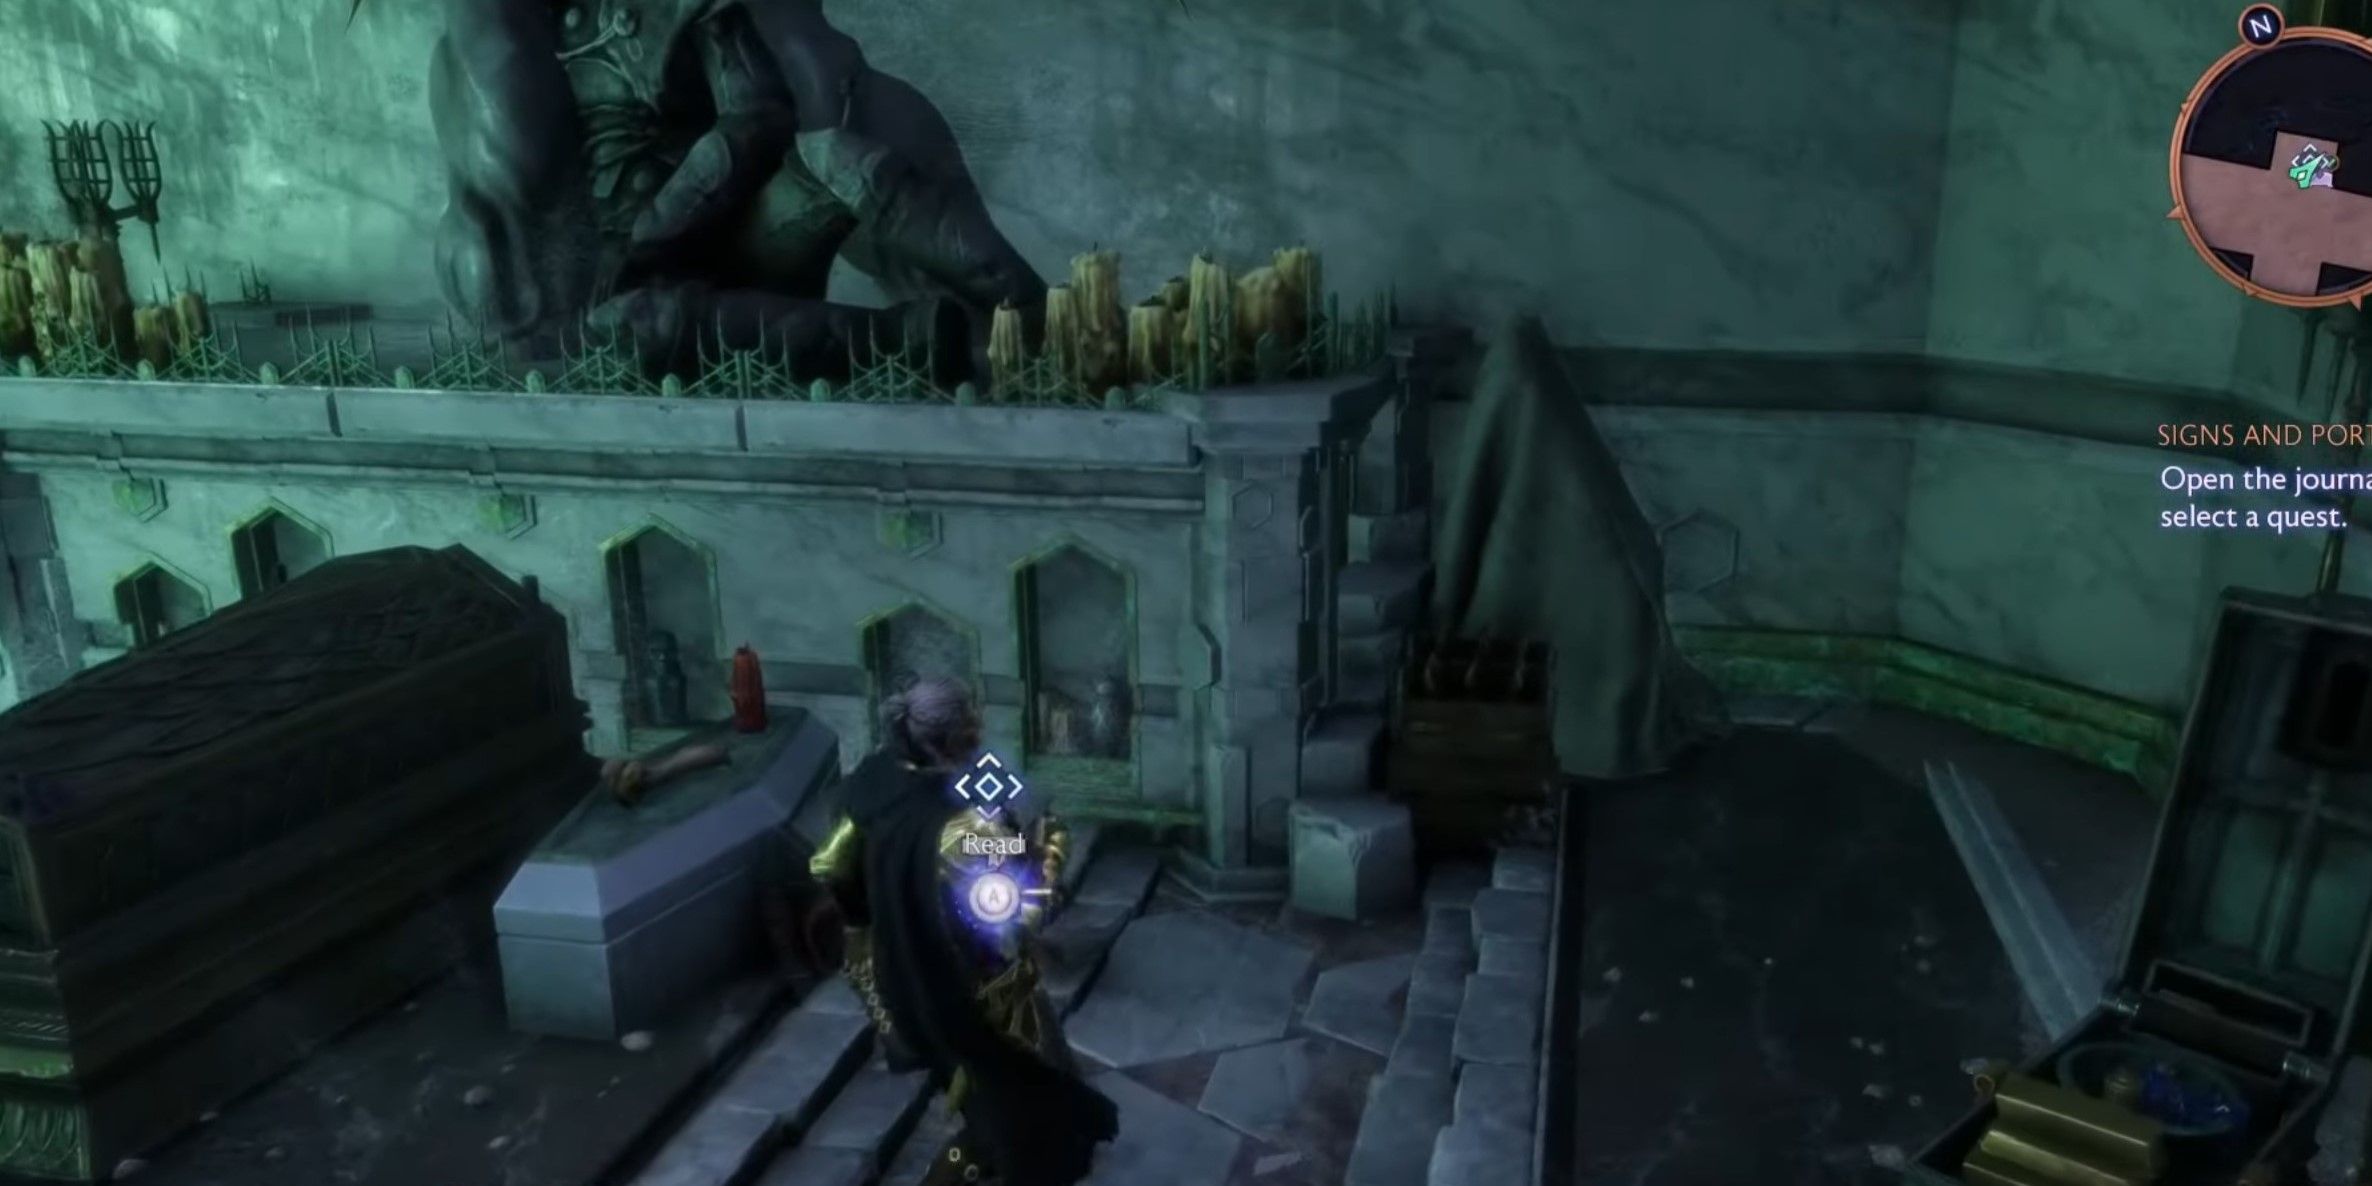
Once you pick up the quest, you’ll need to investigate the sealed room. On the northern side of the room, there are a few coffins with a dead man slumped over, leaning on one; next to the dead man, there’s a letter that will tell you that before you can open the giant, mysterious door, you’ll need to hunt down some demons. There are three demons in Thedas who keep this door sealed, so it’s up to you and your team to defeat them before you can enter.
You can fight these demons in any order, so pick at your leisure.
The Dock Town Demon
To find the demon in Dock Town, head to the Spillway Beacon, which is in the southeast part of the map. As with most of the quests in Veilguard, a quest marker appears on the map, so you should have no trouble finding the demon. You’ll find a stone brazier with green flame at the bottom of some stairs; interact with it to summon a demon called “The Formless One.”

Related
Dragon Age: The Veilguard Complete Quest List – Every Story, Companion, & Side Quest
Dragon Age: The Veilguard is told in a series of quests, divided between the main story, companion outings, and side quests. They’re all listed here.
This demon uses mostly electricity-based AoE attacks to take you down, so keep on your toes to avoid them. This demon is weak to Necrosis, meaning both Lucanis and Emmrich will be helpful here. Once you avoid the demon’s attacks and take them down, you should head to Arlathan Forest, where another demon awaits.
The Arlathan Forest Demon
Once you arrive in Arlathan Forest, head to the Nameless building in the western side of the region. On the path to the west, you’ll find the second brazier, lit up once again in green flame. Interact with this just like you did in Dock Town. To summon the second demon, you’ll need to fight.
Neve will be a useful companion here, but you can also refund your ability points as Rook to re-spec quickly in a pinch.
This demon uses fire attacks and is, predictably, weak to cold damage. Either way, use a combination of cold damage and your own regular attacks to take out the demon while avoiding the rings of flame that it releases. You’ll find that each of these three demon fights takes place in relatively confined areas; keep your wits about you to avoid the demons’ persistent attacks. Once you defeat the second demon, your last target is waiting for you in the Hossberg Wetlands.
The Hossberg Wetlands Demon
The final demon on your list is in Solitude’s Edge, in the southern part of the Wetlands. There will be Darkspawn lurking around the area when you arrive; it’s a good idea to clear them out completely before you interact with the brazier, lest you find yourself overwhelmed. Once you’re ready for the fight, interact with the final brazier and take on the third demon.
This last demon also summons a few Shades with it, so keep an eye on the demon as you clear them out first. After all the smaller enemies have been dispatched, focus on the demon. It’s weak to Shock, making Bellara the best choice as a companion for this particular battle. This demon has a super annoying and long-lasting spin attack, which deals massive and devastating damage if you get caught in it. Try not to get boxed into a corner; you should have no issue dealing with this final enemy.
Defeat The Formless One
This Huge, Draconic Enemy Is Not For The Faint Of Heart
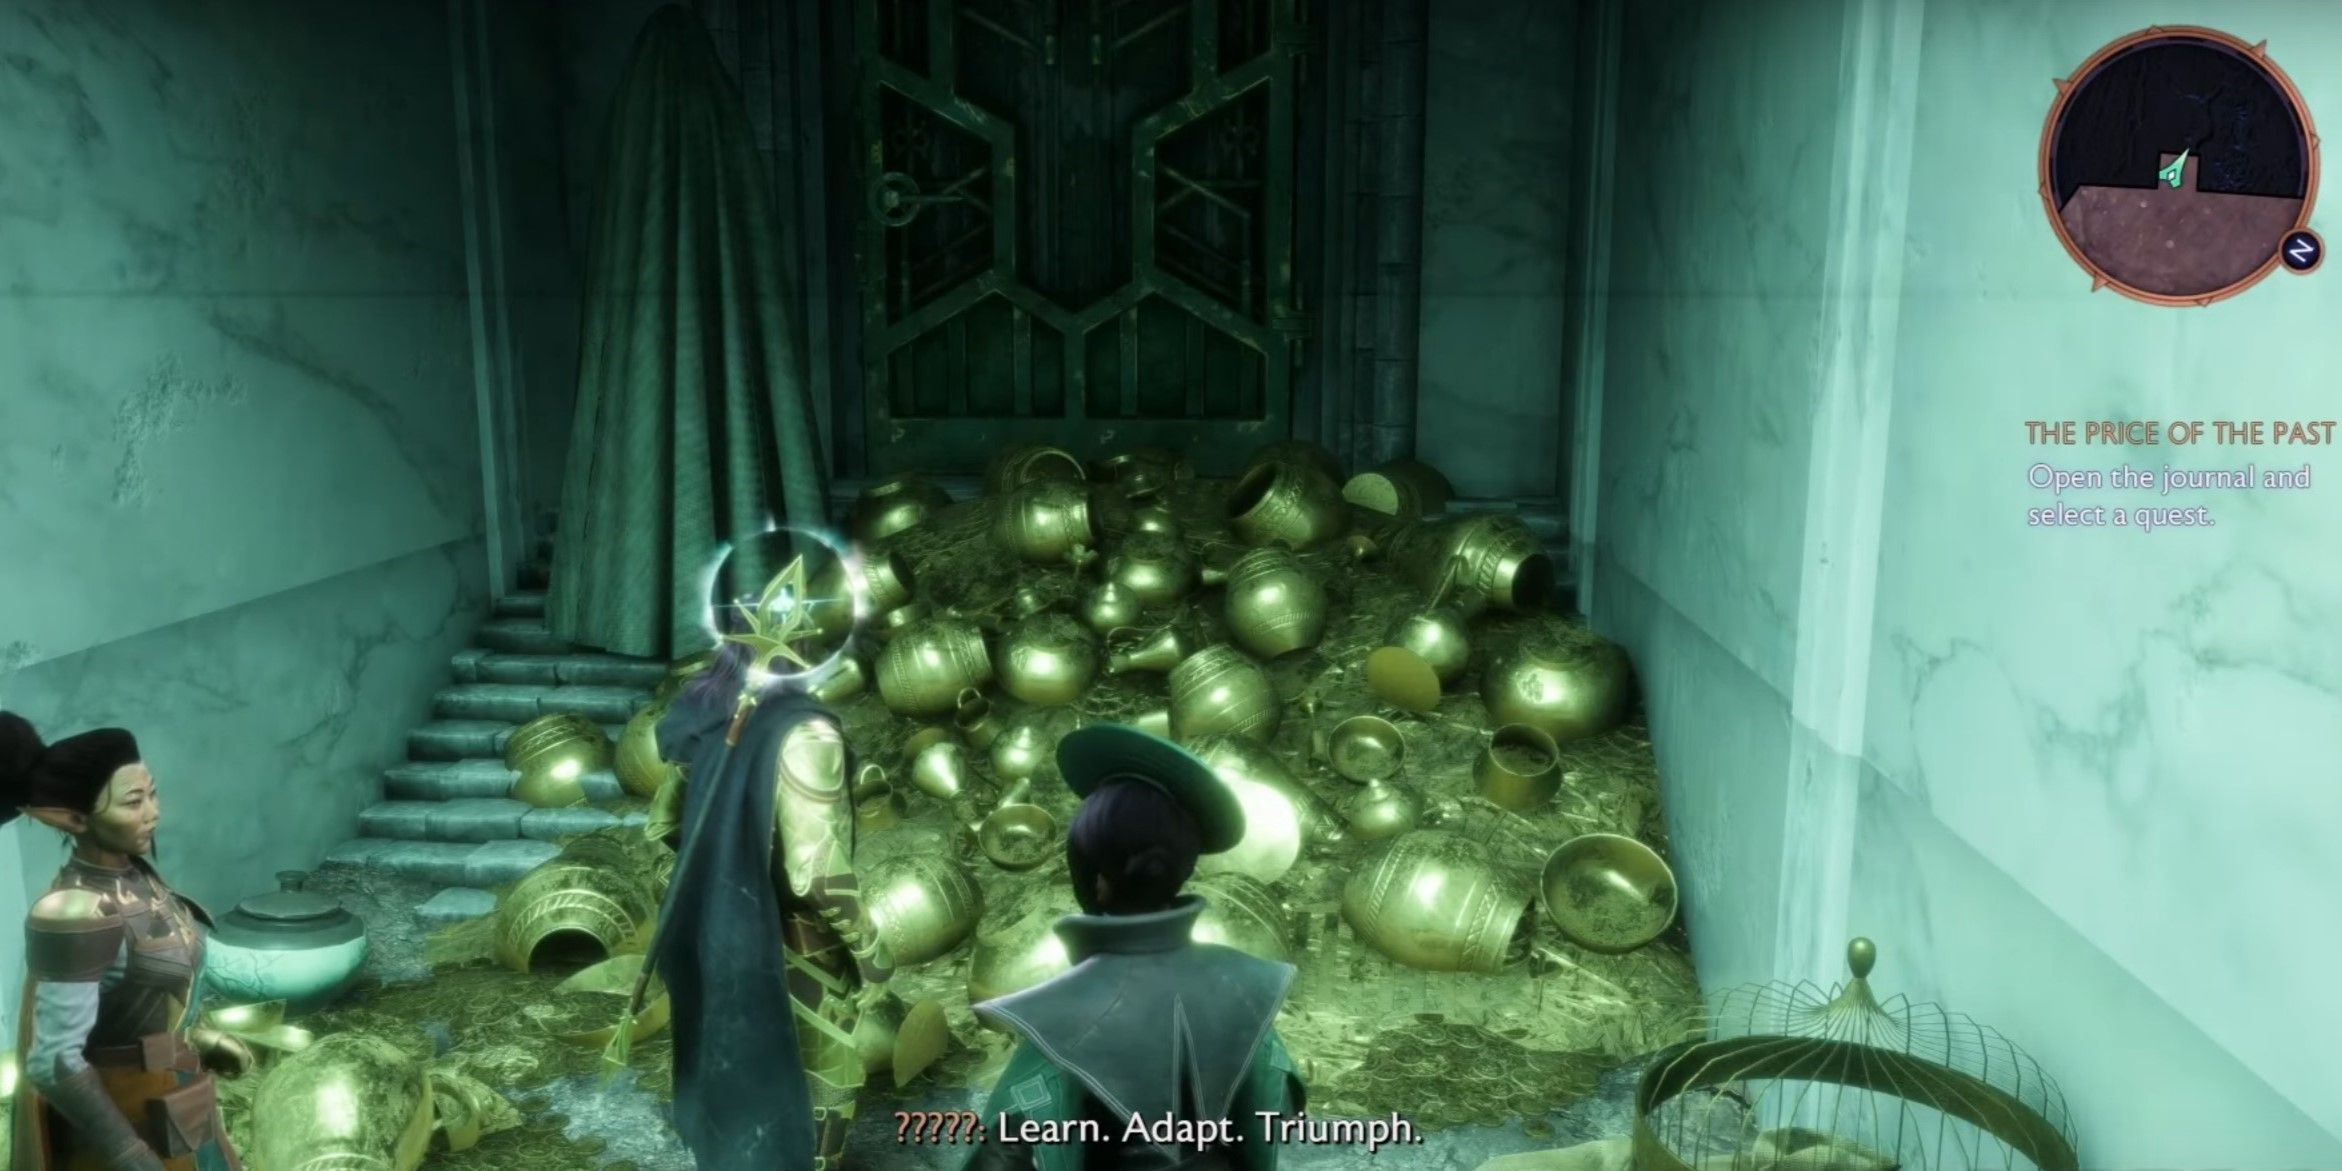
After taking down all three demons, you should return to the sealed door in the Necropolis Halls, which should now open for you. Unseal it, and you will reveal that The Formless One has found a final, powerful host to control: the corpse of a dragon. In my opinion, this enemy is one of the coolest in the game.
The Formless One’s dragon form is level 40, so ensure you’re prepared before taking it on. I don’t enjoy fights in which I’m under-leveled, so I didn’t do this fight until I reached 40, but you should be able to do it at as low as level 30 if you don’t want to wait. If you find yourself struggling, you can always
lower the difficulty
or see
Jun Guides
‘ video on YouTube.
The Formless One is weak to Necrosis, so once again, bring Emmrich and Lucanis with you while also grabbing any Necrosis skills that your Rook might have on their skill tree. Mages in particular have quite a few Necrosis skills available to them, but any class should have one or two at level 40. The Dragon Formless One is a fearsome opponent. Here are the attacks you should watch out for:
|
Attack |
Effect |
|---|---|
|
Ranged Lightning |
The Dragon will use a breath attack. It is telegraphed by the Dragon retreating, then extending its head forward to shoot lighting. |
|
Dive Bomb |
The Dragon will glow a sort of red, which indicates that it is winding up to lunge at you. You’ll need to time your dodge well to avoid this attack. |
|
Stomp |
The Dragon slams its hands down on you. |
|
Tail Swipe |
The Dragon spins, hitting you with its tail; dodge into the direction the attack is coming from to follow up with an attack of your own. |
|
Bite |
The Dragon lunges forward to chomp you. |
|
Ground Pound |
A large red circle will appear around Rook, telegraphing the attack. The time between the telegraph and the attack itself is relatively short, so dodge quickly. |
The Dragon’s simpler attacks are pretty easy to dodge, and the harder ones aren’t too bad either. While you’re dodging, keep an eye on the Dragon’s legs. One of them will be glowing, though which leg is glowing might switch. This is the Dragon’s weak spot, so focus your attacks here to stun it.
If you want to take a look at The Formless One’s attacks before you get into battle, you can watch
Jun Guides
run through the fight on YouTube.
At about 70% health, the Dragon will retreat and put up a Barrier, throwing lightning bolts at you from across the arena. After you dodge lightning for a while, it will emit a huge blast of lightning around itself, so watch closely as you continue to pelt it with attacks. Eventually, you’ll defeat it and gain a trove of rewards in return for your great victory.
Pinnacle of Its Kind Rewards
XP, Chests, And Even Part Of The Secret Ending
Once you defeat the Formless One, the demon will be sealed away once again. You’ll get some rewards immediately and then also gain access to a few chests around the arena. The rewards that pop up are 1,000 XP, a Dragon Tooth, two Dragonfire Catalysts, and +200 Mourn Watch Strength and +300 Lords of Fortune Strength.
Around the arena, you should find a Unique Chest. These are chests that hold Unique Items, which are essentially one-of-a-kind weapons and armor that provide massive bonuses or otherwise excellent effects. You’ll also gain the “Unbound” Trophy and a Memento in one of the side rooms called “A Second Circle.” Not only will this memento help you upgrade your workshop, it’s also necessary for the secret ending of Dragon Age: The Veilguard.
Video Credit: Jun Guides/YouTube

- Released
- October 31, 2024
- Developer(s)
- BioWare
- ESRB
- M For Mature 17+ // Blood, Nudity, Sexual Themes, Strong Language, Violence


